Developing the Pinhole Negative
Developing your exposures is your next step. This is not a complicated process, and is in many ways the most exciting moment, where you will find out if your work to make the camera, choose the scene and make an exposure worked out how you imagined.
You need access to a room you can darken, ideally with a faucet. Usually a bathroom works. It doesn’t need to be pitch black because of the low sensitivity of photo paper, but you should ensure all windows and bottoms of doors are sealed so no light comes in. Developing at night makes this much easier.
Materials You Need

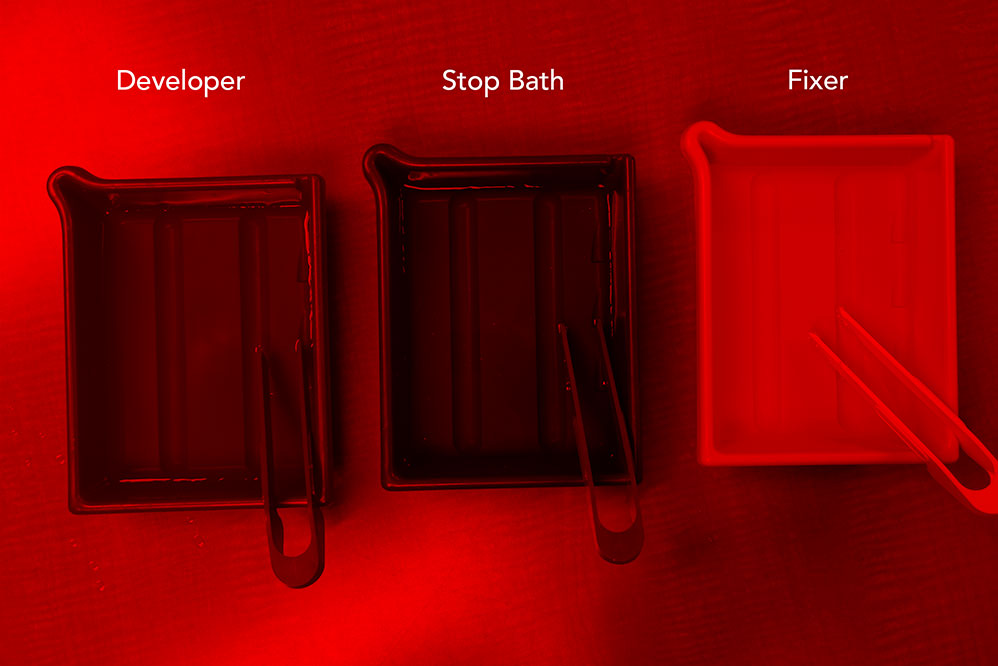
- Developing trays (3): These are plastic containers that will serve as a bath for each of the main chemicals. I suggest an 8x10 size at least, but any plastic container will do.
- Developer: This chemical will develop the exposed silver in the photo paper.
- Stop bath: As the name implies, it stops the development by neutralizing the process.
- Fixer: Removes any unexposed silver and adds permanence to the image.
- Tongs, so as not to use our fingers.
- Safe light bulb: This is to illuminate our work area, and is safe to use because photo paper is insensitive to red light.
- Graduated Cylinder: For precise measuring of liquids. Get something with 1000ml and one with 100ml. Any pitcher or beaker will do.
- Digital food thermometer
- Clothespins, to hang the prints to dry.
Mix Chemicals & Prepare Work Area
Before mixing, check your water temperature. You should keep it at 68 degrees, plus or mins a few. Mixing the chemichals is a simple affair. Simply follow dilution directions in the bottle. In our case, we're using Arista, so we will follow the ratios below to make half a liter of chemistry for each tray. The first tray on the left will hold the developer, the middle one the stop bath, and the final one is for fixer. Keep your trays consistent: I choose red for developer, grey for stop bath and white for fixer. Place tongs on each tray.
| Red Tray Developer 1:9 Ratio |
Grey Tray Stop Bath 1:31 Ratio |
White Tray Fixer 1:7 Ratio |
|---|---|---|
| 450 ml of water + 50ml of chemistry |
485 ml of water + 15ml of chemistry |
440 ml of water + 60ml of Chemistry |
Developing the Paper Negative
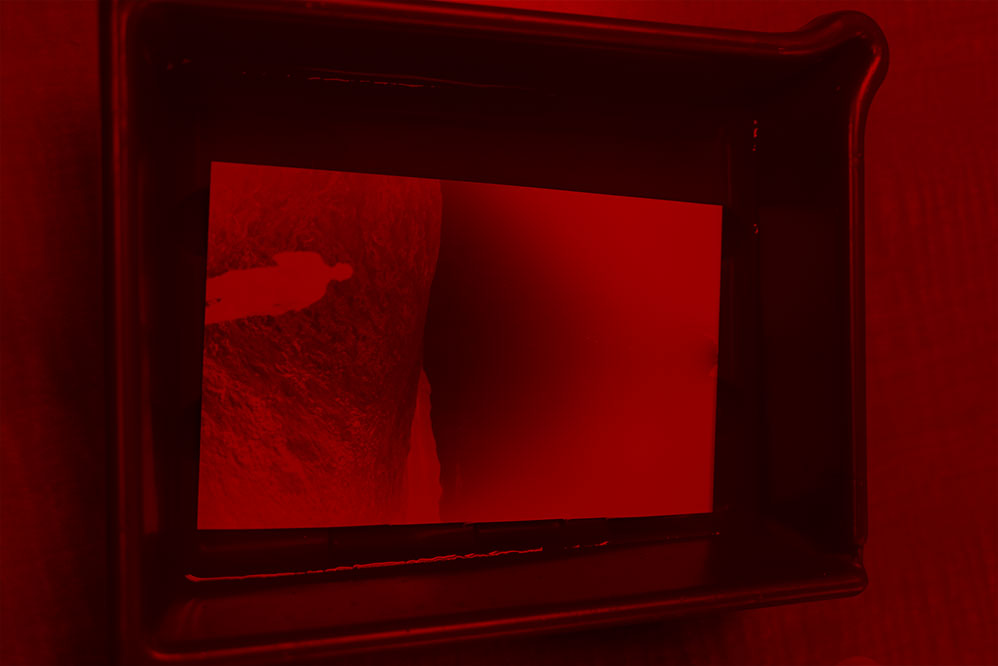
Now, the moment has arrived, to see what image you'll obtain. To do this, you will use your tongs to place the paper negative in each tray, for the times listed below. Make sure the exposed side is facing up, so you can see the image as it appears. These are just guidelines, no need to be hyper-precise. Gently rock each tray back and forth to ensure even coverage of the negative.
| Red Tray Developer |
Grey Tray Stop Bath |
White Tray Fixer |
|---|---|---|
| 30-45 seconds | 30 seconds | 3 minutes |
Once the image is fixed, you can place the negative in a bath of fresh water to wait for final rinsing if you are developing multiple sheets. Otherwise, place the sheet in a clean tray and run with tap water for several minutes to ensure all the fixer is removed. Hang on clothesline to dry.
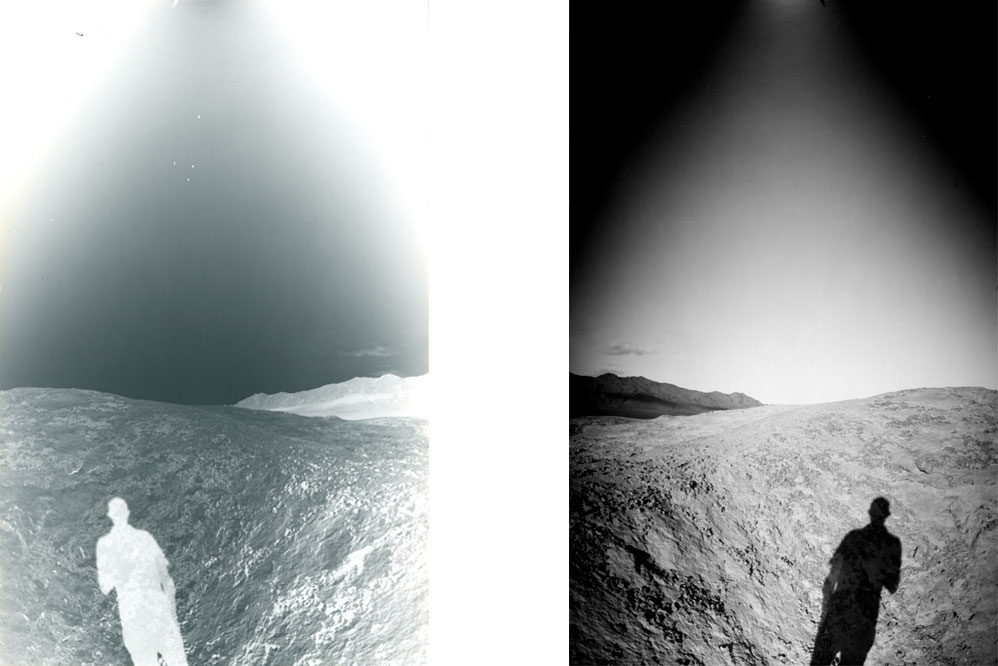
Creating a Positive Print
Your next task is to create a positive. This will be done by scanning your image and inverting in Photoshop. In addition you will further edit , retouch and crop as needed to obtain your final image. This guide does not cover editing, and assumes you can use the software of your choice to finalize, share and print the final image.
Now, let's head over to the Image Gallery.
FAQ
- Help! My negative is totally black/white or really pale/dark! This can be over/under exposure or over/under development. Check your camera for light leaks, ensure your f/number and exposure times are adjust your exposure times by experimenting, and finally, check your chemistry ratios and temperature.
- What about Caffenol Developer? The recommended chemistry is of relatively low toxicity, however there are other options that you can make a home. One such solution is to use Caffenol, which is a developer you make with coffee, vitamin C and baking soda, and it really captures the do-it-yourself ethos of pinhole photogrpahy. You can read about Caffenol Caffenol.org
- What's the best way to digitize my negatives? A flatbed scanner or a digital camera can be used to create digital files of your negatives so you can edit and process them with Photoshop. A particularly excellent software program for scanning is Silverfast.